Setting up Hugo with GitLab
What will you need
Creating a GitLab Page
It is as easy as clone an example GitLab Page Hugo example as the base for your own blog or homepage.
Go to https://gitlab.com/pages/hugo and fork the project to your GitLab account

In your new repository, remove the fork relationship (Settings > General > Advanced > Remove fork relationship)

Make sure your have the Shared Runners enabled (Settings > CI/CD > Runners)

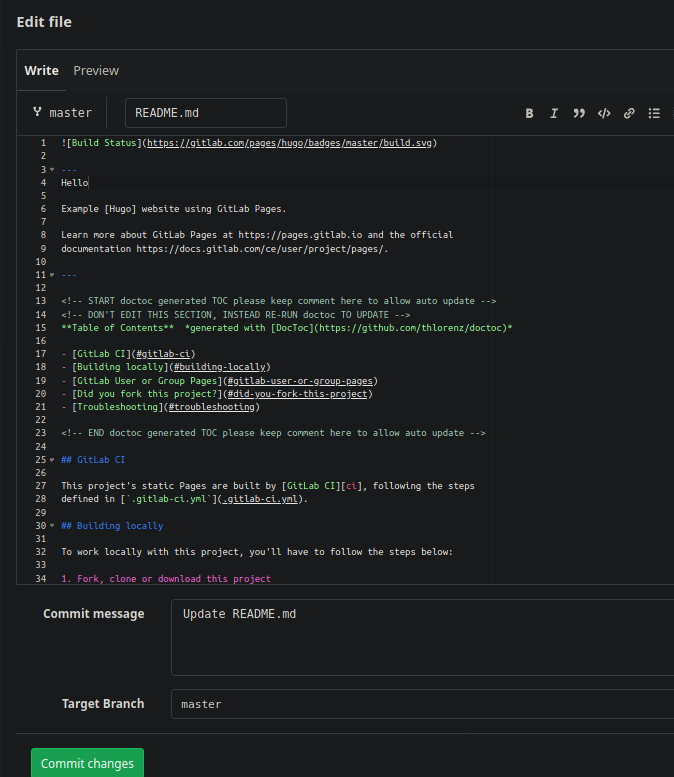
Trigger a build to check if everything is OK (Repositories > Files > README.md > Edit, change something in the file and Commit changes)
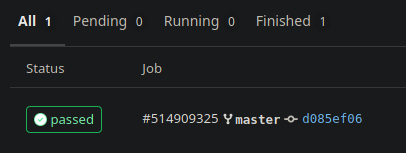
Check if a job executed with success (CI / CD > Jobs)
Check if the page is up and running using the link in Settings > Pages > Access pages
Rename the project name (Settings > General > Naming, topics, avatar > Project name)
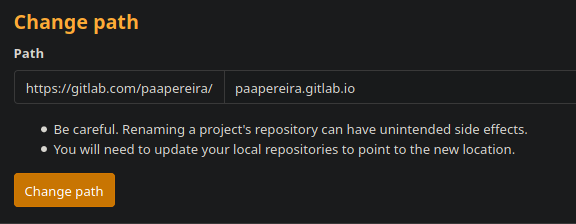
Rename the repository (Settings > General > Advanced > Change path)
Check if the page url changed and it’s still working (Settings > Pages > Access pages)
Installing Hugo
In my case I’m using Arch Linux and it was as easy as:
1yay -S hugo
Setup up your local environment
- Clone your page
1mkdir ~/www/mypage
2cd ~/www/mypage
3git clone https://gitlab.com/youruser/youruser.gitlab.io
- Add the public directorie to your gitignore
1echo "/public" >> .gitignore
- Choose a theme
1git submodule add https://github.com/rhazdon/hugo-theme-hello-friend-ng.git themes/hello-friend-ng
- Configure your site
1vim config.toml
 1baseurl = "https://youruser.gitlab.io/"
 2title = "My homepage"
 3
 4DefaultContentLanguage = "en"
 5
 6theme = "hello-friend-ng"
 7
 8PygmentsCodeFences = true
 9PygmentsStyle = "monokai"
10
11copyright = '<a href="https://creativecommons.org/licenses/by-nc/4.0/" target="_blank" rel="noopener">CC BY-NC 4.0</a>'
12
13enableRobotsTXT = false
14enableGitInfo = false
15enableEmoji     = true
16enableMissingTranslationPlaceholders = false
17disableRSS     = false
18disableSitemap = false
19disable404     = false
20disableHugoGeneratorInject = false
21
22[permalinks]
23  posts = "/posts/:year/:month/:title/"
24
25[author]
26  name = "my name"
27  avatar = "static/my_avatar.png"
28
29[taxonomies]
30  tag      = "tags"
31  category = "categories"
32
33[params]
34  dateform        = "January 2, 2006"
35  dateformShort   = "Jan 2"
36  dateformNum     = "2006-01-02"
37  dateformNumTime = "2006-01-02 15:04 +0000"
38
39  lastModDisplay = "Modified:"
40  disableReadOtherPosts = false
41
42  description = "my description"
43  keywords = "homepage, blog"
44  images = [""]
45
46  contentTypeName = "posts"
47
48  defaultTheme = "dark"
49
50  showReadingTime = false
51
52  [params.logo]
53    logoText     = "$ cd ~"
54    logoHomeLink = "/"
55    # logoCursorDisabled = true
56    logoCursorColor    = "#5e81ac"
57    logoCursorAnimate  = "1s"
58
59  [[params.social]]
60    name = "email"
61    url  = "mailto:me@mymail.com"
62
63  [[params.social]]
64    name = "twitter"
65    url  = "https://twitter.com/myuser"
66
67[menu]
68  [[menu.main]]
69    identifier = "whoami"
70    name       = "whoami"
71    url        = "/page/about"
72  [[menu.main]]
73    identifier = "posts"
74    name       = "posts"
75    url        = "posts/"
- Run your new site in http://localhost:1313/
1hugo server -D
Push your changes to GitLab
1cd ~/www/mypage
2git add .
3git commit
4git push
How to create new posts
- Create a new post using Hugo
1cd ~/www/mypage
2hugo new posts/my-first-post.md
- Add your text, and don’t forget to change to ‘draft: false’ after finising
1vim content/posts/my-first-post.md
 1---
 2title: "My first post"
 3date: 2020-04-13T21:19:55+01:00
 4images:
 5tags:
 6  - tag1
 7  - tag2
 8---
 9## A header
10
11text
How to create other pages
- Create markdown files in content/page
1cd ~/www/mypage
2mkdir content/page/
3vim content/page/about.md
- In you config.toml you can add the page (no need for the .md extension)
1  [[menu.main]]
2    identifier = "about"
3    name       = "about"
4    url        = "/page/about"
Using your own domain
Add you domain name (Settings > Pages > New Domain)
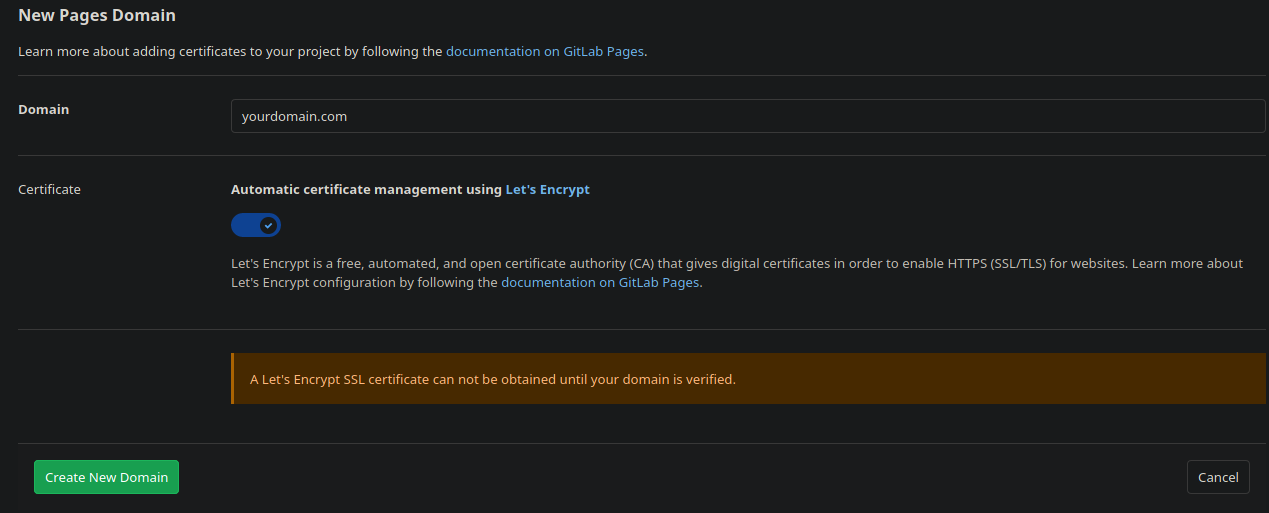
Follow the given instructions to add the DNS and Verification records in your domain registrar